iOS/Swift:: MVVM 정리 및 예제
iOS/Swift에서 MVVM 이 뭔지 제대로 이해해보려고 조사한 것이 결국엔 RxSwift를 배우지 않은 것의 크기를 경험하게 만들었고, 결국 Udemy에서 강의까지 사게 만들었다.
RxSwift + MVVM 시리즈에 SwiftUI까지 45000원이라는 돈을 주고 샀는데, MVVM 하나만 이 가격에 구매해도 아깝지 않을 정도로 훌륭한 강의였음...(Naver BoostCourse에 쏟아 부은 돈만 생각하면 아주 부들부들 합니다 그래서..)
이번 포스트에서는 MVVM 의 개념을 소개하고 예제를 통해 설명해보려 한다.
다른 포스트들에서는 RxSwift를 예로 들거나 너무 큰 코드 안에서 설명하려는 점이 불편했기 때문에 아주 쉬운 예제로 설명하려 한다. 그러면 바로 시작해보자.
MVC와 MVVM
우리가 알고 있는 MVC
글을 쓰는 시점에서 내가 이해하는 MVC가 일반적으로 이해하고 있는 MVC가 맞는지 궁금해서 그것부터 확인했다.
내가 이해하고 있었던 MVC는
Model에서 json같은 데이터를 받아오기 위한 데이터 구조를 정의하고,
Controller에서 받아온 데이터를 가공하고,
View에서 가공한 데이터를 보여준다 이다.
그래서 검색을 했더니 자료를 금방 찾을 수 있었다.
여기에 대해 아주 좋은 reference image가 있어서 첨부한다.

위 그림이 MVC의 모든 것을 말해주지는 않지만 충분히 잘 설명한다고 생각한다.
내가 위에서 언급한 MVC 개념에는 view가 사용자의 동작을 인식하고 Model이 바뀌면 view에서 직통으로 model로부터 상태 정보를 받아온다는 것?
ios 개발은 MVC 패턴을 적용하기 힘들다
라는 게 내 생각이다.
왜냐하면 Model은 작성할 수 있어도 view와 controller를 떼어놓기가 참 불편한 부분이 많기 때문이다.
어떤 점이 불편하냐면 viewController라는 클래스 파일에 예를 들어 화면의 버튼을 연결해서 버튼을 예쁘게 꾸미는 코드를 입력하곤 하는데 viewController에는 사실 데이터를 가공하고 view를 수정하는 코드도 들어가기 때문이다.
그러니까 View와 Controller가 독립하여 존재하기가 힘들다고 생각했다.
역시 나와 같은 생각을 하는 사람은 많았고, 이런 생각을 잘 나타낸 블로그도 소개한다.
여기를 클릭하면 해당 블로그에 들어갈 수 있다.
해당 블로그 글에 따르면 Apple은 이것을 미리 인지하고 아키텍쳐를 다음과 같이 제시했다고 한다.
이 MVC 패턴의 이름은 Cocoa MVC이다.
(애플은 왜 이렇게 Cocoa를 좋아하는지 모르겠다. 프레임워크의 이름도 cocoaPods이니..)

그런데 해당 블로그에서 말하는 것도 그렇고 내 생각도 그렇고 위 구조는 너무 불편하다.
왜냐하면
\1. 테스트하기가 힘들다. Model은 따로 떼어놓고 테스트가 가능하다지만 view와 controller는 따로 테스트하기가 힘들다.
\2. view와 Contorller 가 붙어있다 보니 한 파일의 코드가 너무 길어진다.
MVVM 을 만나다
MVVM(Model - View - ViewModel) 을 알아보기 이전에는 MVC 패턴에 대해서만 알고 있었다.
MVC 에 대해 설명하는 블로그를 뒤지는 와중에 와주셔서 영광입니다 블로그 의 주인이자 cadet인 yepark이
'ios는 MVVM을 많이 쓰는 것 같더라' 라는 말을 해서 찾아보게 됐다.
이제 MVVM이 무엇인지, 하나씩 파헤쳐보자.
'M'VVM의 Model
MVVM 아키텍쳐에서 Model은 데이터 구조를 정의하고 ViewModel에게 결과를 알려준다.
여기서의 Model은 View와 이어지지 않는다.
M'V'VM 의 View
MVVM의 View는 흔히 사용하는 ViewController에 코드를 작성한다.
view는 사용자와의 상호작용을 통해 이벤트가 일어나면 ViewModel에게 알려주며,
ViewModel이 업데이트 요청한 데이터를 보여준다.
MV'VM' 의 ViewModel
ViewModel은 사용자의 상호작용을 view가 보내주면 그에 맞는 이벤트를 처리하고,
Model의 Read Update Delete를 담당한다.
기존의 MVC랑 조금 다른 건 알겠는데... 아직은 크게 감이 안 온다.
좀 더 살펴보자 !

위는 MVVM을 잘 나타내는 이미지이다.
기존의 View는 단순히 유저 인터페이스를 표시하기 위한 로직만을 담당하고, 그 외에는 메소드 호출 정도만 있는 게 이상적이다.
ViewModel은 기존의 UIKit을 import 할 필요도 없이 데이터 update 및 뷰 요소를 업데이트 한다.
Model은 데이터 구조를 갖고 있다.
이러한 MVVM 패턴의 장점은 View - Model - ViewModel 모두 독립적으로 테스트가 가능하다는 것.
반면 단점은 설계가 어렵다는 것과 뷰에 대한 처리가 복잡해지면 뷰모델도 거대해진다는 것.
(그런데 기존의 MVC는 혼자서 한 2주짜리 프로젝트에서도 한 파일의 코드가 길~~어졌으니... MVVM처럼 나누는 게 훨씬 코드 보기에 편할 것 같다.)
이제 좀 감이 온다.
다만 파일을 어떻게 나누는지 예제가 더 필요할 것 같다.
예제도 한번 살펴보자.
MVVM에 대한 예제
NewsAPI를 tableView에 뿌려보자!
내가 예제로 MVVM의 예제로 들 간단한 코드는 NewsAPI를 tableView에 담아보는 것이다.
openAPI를 이용할 예정이며 api주소는 글을 써가면서 공유하겠다.
Model
우리가 받아올 News API는 https://newsapi.org/v2/top-headlines?country=us&apiKey=e9b514c39c5f456db8ed4ecb693b0040 로 GET 할 수 있다.
데이터는 아래와 같이 생겼다.
{
    "status": "ok",
    "totalResults": 20,
    "articles": [
        {
            "source": {
            "id": null,
            "name": "CBS Sports"
        },
        "author": "Brent Brookhouse",
        "title": "UFC 260 results, highlights: Francis Ngannou brutally knocks out Stipe Miocic to claim heavyweight title - CBSSports.com",
        "description": "Ngannou pummeled the most accomplished heavyweight in UFC history with ease in the rematch on Saturday",
        "url": "https://www.cbssports.com/mma/news/ufc-260-results-highlights-francis-ngannou-brutally-knocks-out-stipe-miocic-to-claim-heavyweight-title/live/",
        "urlToImage": "https://sportshub.cbsistatic.com/i/r/2021/03/28/43f71821-fbd4-4c01-9238-304bc54faa9f/thumbnail/1200x675/1c0ccbf4798c9f82c0211a4ae3f63204/ngannou-knockout-miocic.jpg",
        "publishedAt": "2021-03-28T04:26:00Z",
        "content": "Francis Ngannou couldn't get the job done in his first shot at Stipe Miocic and the UFC heavyweight championship at UFC 220. In the main event of UFC 260, Ngannou left no doubt that he had become the… [+3775 chars]"
        },
        {
        "source": {
        "id": "cnn",
        "name": "CNN"
        },
        "author": "Radina Gigova and Reuters, CNN",
        "title": "'Words are not enough:' UN official urges world to act after at least 114 killed in Myanmar in one day - CNN ",
        "description": "Human rights officials are calling on the international community to do more to stop the bloodshed in Myanmar after more than 100 civilians were reportedly killed by Myanmar military junta that overthrew the country's elected government.",
        "url": "https://www.cnn.com/2021/03/28/asia/myanmar-protests-violence-intl-hnk/index.html",
        "urlToImage": "https://cdn.cnn.com/cnnnext/dam/assets/210327224222-07-myanmar-unrest-0327-super-tease.jpg",
        "publishedAt": "2021-03-28T04:09:00Z",
        "content": "(CNN)Human rights officials are calling on the international community to do more to stop the bloodshed in Myanmar after more than 100 civilians were reportedly killed by Myanmar military junta that … [+7630 chars]"
        },
이를 받을 Model을 설계해보자.
먼저 아래와 같이 폴더/파일을 하나 만든다.
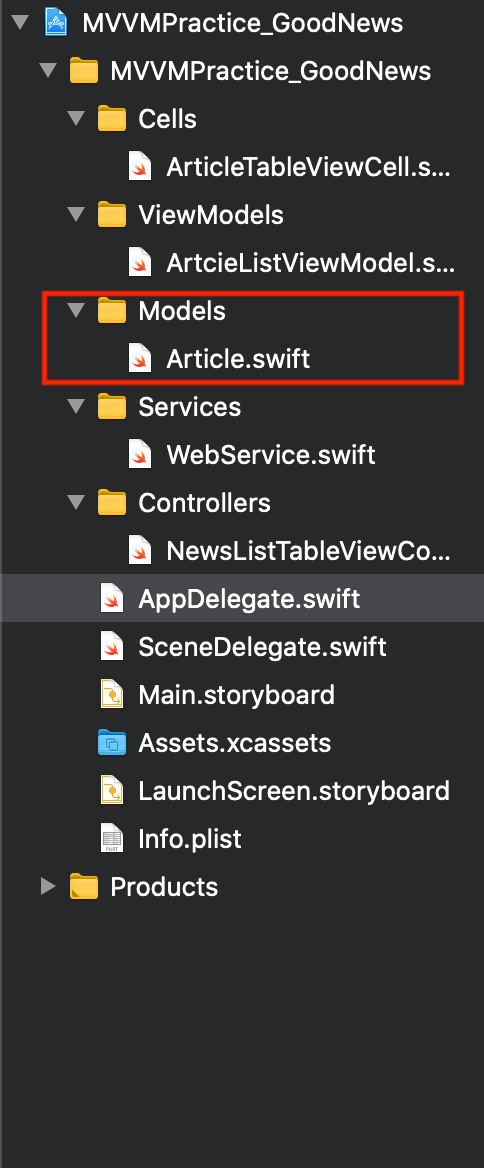
그리고 그 파일 안에 다음과 같은 struct들을 만들어준다.
import Foundation

struct ArticleList: Decodable {
    let articles: [Article]
}

struct Article: Decodable {
    let title: String?
    let description: String?
}
// 우리가 받을 json 데이터 안에는 articles라는 array가 있다.
// 그것을 articleList로 받아줄 것이다.
// 우리가 필요로 하는 건 title, description 에 대한 정보뿐이므로
// article 하나에서는 필요로 하는 필드만 적어준다.
Service
MVVM에 필수적인건 아니지만 service도 하나 만들어서 API를 받아와보자.
로직은 VM(View Model)에 합쳐도 된다.
다음과 같이 그룹-파일 을 만들어보자.
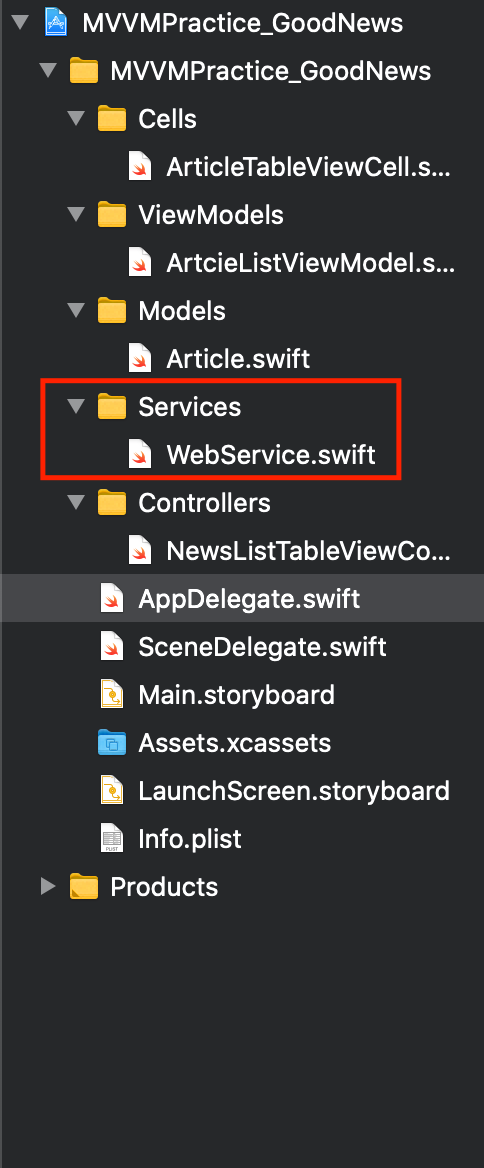
그리고 아래와 같이 적어준다.
import Foundation

class WebService {
    func getArticles(url: URL, completion: @escaping ([Article]?) -> ()) {

        URLSession.shared.dataTask(with: url) {
            (data, response, error) in
            if let error = error {
                print(error.localizedDescription)
                completion(nil) // if any error occurs, article can be nil
            }
            else if let data = data {
                let articleList = try? JSONDecoder().decode(ArticleList.self, from: data)
                print(articleList)
                if let articleList = articleList {
                    completion(articleList.articles)
                }
                print(articleList?.articles)

            }

        }.resume()

    }
}
@escaping 부분은 중요하지 않다.
중요한 건 data를 받아오는지 독립적으로 확인할 수 있다는 것이다.
ViewModel
ViewModel에서는 tableView가 기본적으로 필요로 하는 numberOfRowsInSection에 리턴해줄 함수와 cellForRowAt에 넣어줄 함수, 그리고 numberOfSection까지 정의할 것이다.
똑같이 파일을 만들자.

//
//  ArtcieViewModel.swift
//  MVVMPractice_GoodNews
//
//  Created by 최강훈 on 2021/03/28.
//

import Foundation

struct ArticleListViewModel {
    let articles: [Article]
}

extension ArticleListViewModel {
    var numberOfSections: Int {
        return 1
    }

    func numberOfRowsInSection(_ section: Int) -> Int {
        return self.articles.count
    }

    func articleAtIndex(_ index: Int) -> ArticleViewModel {
        let article = self.articles[index]
        return ArticleViewModel(article)
    }
}

struct ArticleViewModel {
    private let article: Article
}

extension ArticleViewModel {
    init(_ article: Article) {
        self.article = article
    }
}

extension ArticleViewModel {
    var title: String? {
        return self.article.title
    }
    var description: String? {
        return self.article.description
    }
}
View (ViewController)
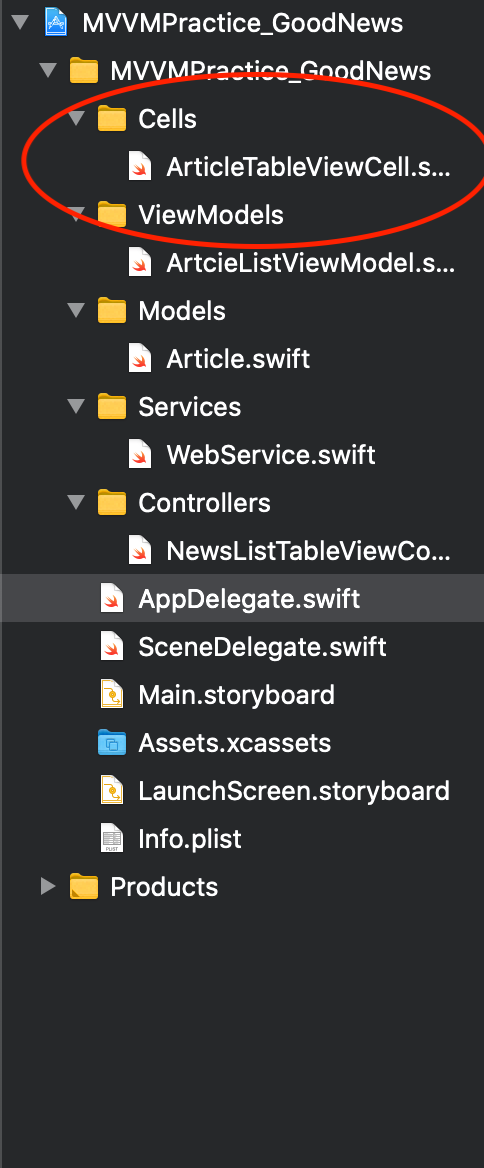
ViewController에서는 단순히 ViewModel에서 전달하는 데이터를 화면에 전달해주기만 할 것이다.
이를 위해 아래와 같이 TableViewCell과 TableViewController를 만들어주자.
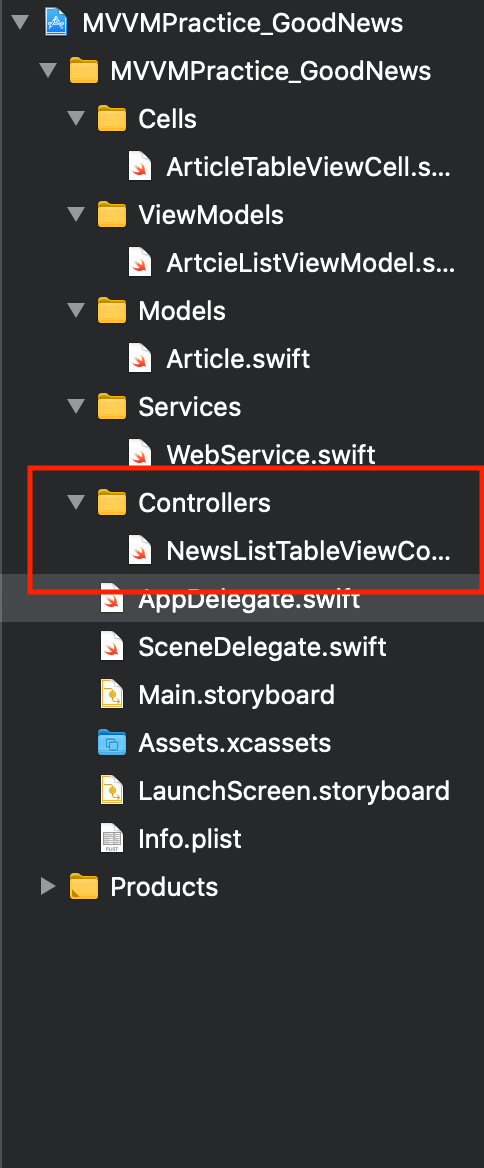
TableViewController
//
//  NewsListTableViewController.swift
//  MVVMPractice_GoodNews
//
//  Created by 최강훈 on 2021/03/27.
//

import UIKit

class NewsListTableViewController: UITableViewController {

    private var articleListVM: ArticleListViewModel!

    override func viewDidLoad() {
        super.viewDidLoad()

        setup()
    }

    private func setup() {
        self.navigationController?.navigationBar.prefersLargeTitles = true

        let url = URL(string: "https://newsapi.org/v2/top-headlines?country=us&apiKey=e9b514c39c5f456db8ed4ecb693b0040")!
        WebService().getArticles(url: url) { //1
            (articles) in

            if let articles = articles {
                self.articleListVM = ArticleListViewModel(articles: articles) //2
            }
            DispatchQueue.main.async {
                self.tableView.reloadData()
            }
        }
    }
}

extension NewsListTableViewController {
    override func tableView(_ tableView: UITableView, numberOfRowsInSection section: Int) -> Int {
        return self.articleListVM.numberOfRowsInSection(section)
    }

    override func numberOfSections(in tableView: UITableView) -> Int {
        return self.articleListVM == nil ? 0 : self.articleListVM.numberOfSections
    }

    override func tableView(_ tableView: UITableView, cellForRowAt indexPath: IndexPath) -> UITableViewCell {
        guard let cell = tableView.dequeueReusableCell(withIdentifier: "ArticleTableViewCell", for: indexPath) as? ArticleTableViewCell
        else {fatalError("no matched articleTableViewCell identifier")}

        let articleVM = self.articleListVM.articleAtIndex(indexPath.row) //3
        cell.descriptionLabel?.text = articleVM.description
        cell.titleLabel?.text = articleVM.title
        return cell
    }

}
tableViewCell
//
//  ArticleTableViewCell.swift
//  MVVMPractice_GoodNews
//
//  Created by 최강훈 on 2021/03/28.
//

import UIKit

class ArticleTableViewCell: UITableViewCell {

    @IBOutlet weak var titleLabel: UILabel!
    @IBOutlet weak var descriptionLabel: UILabel!

    override func awakeFromNib() {
        super.awakeFromNib()
        // Initialization code
    }

    override func setSelected(_ selected: Bool, animated: Bool) {
        super.setSelected(selected, animated: animated)

        // Configure the view for the selected state
    }

}
여기서 주목해야 할 것은 작성한 모든 함수가 view에서 호출되며, view에서는 단순히 함수 호출을 통해 만들어진 데이터를 받아쓸 뿐이라는 것이다.
완성 화면

혹시나 필요한 사람이 있을까봐 아래 깃헙에 소스를 올려놓았으니 전체 코드를 천천히 분석하면서 MVVM이 무엇인지 확인해보자.
https://github.com/ChoiKanghun/MVVM_Practice
'iOS::스위프트(swift) > RxSwift+MVVM' 카테고리의 다른 글
| RxSwift 기초 5 - Combining Operators (0) | 2021.06.08 |
|---|---|
| RxSwift 기초 4 - Operator Transforming (0) | 2021.06.07 |
| RxSwift 기초 3 - 필터링(Filtering Operators) (0) | 2021.05.25 |
| RxSwift 기초2 - dispose와 subject (0) | 2021.05.21 |
| RxSwift 기초 - observable과 subscribe (0) | 2021.05.17 |


최근댓글