이호준 멘토님의 우당탕탕 멘토링 -앱4, 5. 푸시알림, 쉐이크 기능 편-
지난 번 분석은 배달의민족+쿠팡이츠+요기요 앱이었다.
그런데 너~~무 UI/UX 쪽으로만 치우친 분석이 된 것 같아서
분석의 방향을 좀더 세부적인 것의 기술을 분석하는 쪽으로 전환해보려 한다.
그래서 선택한 이번 앱은 당근마켓!
그리고 그중에서도 푸쉬 알림에 대해 분석해보려 한다.
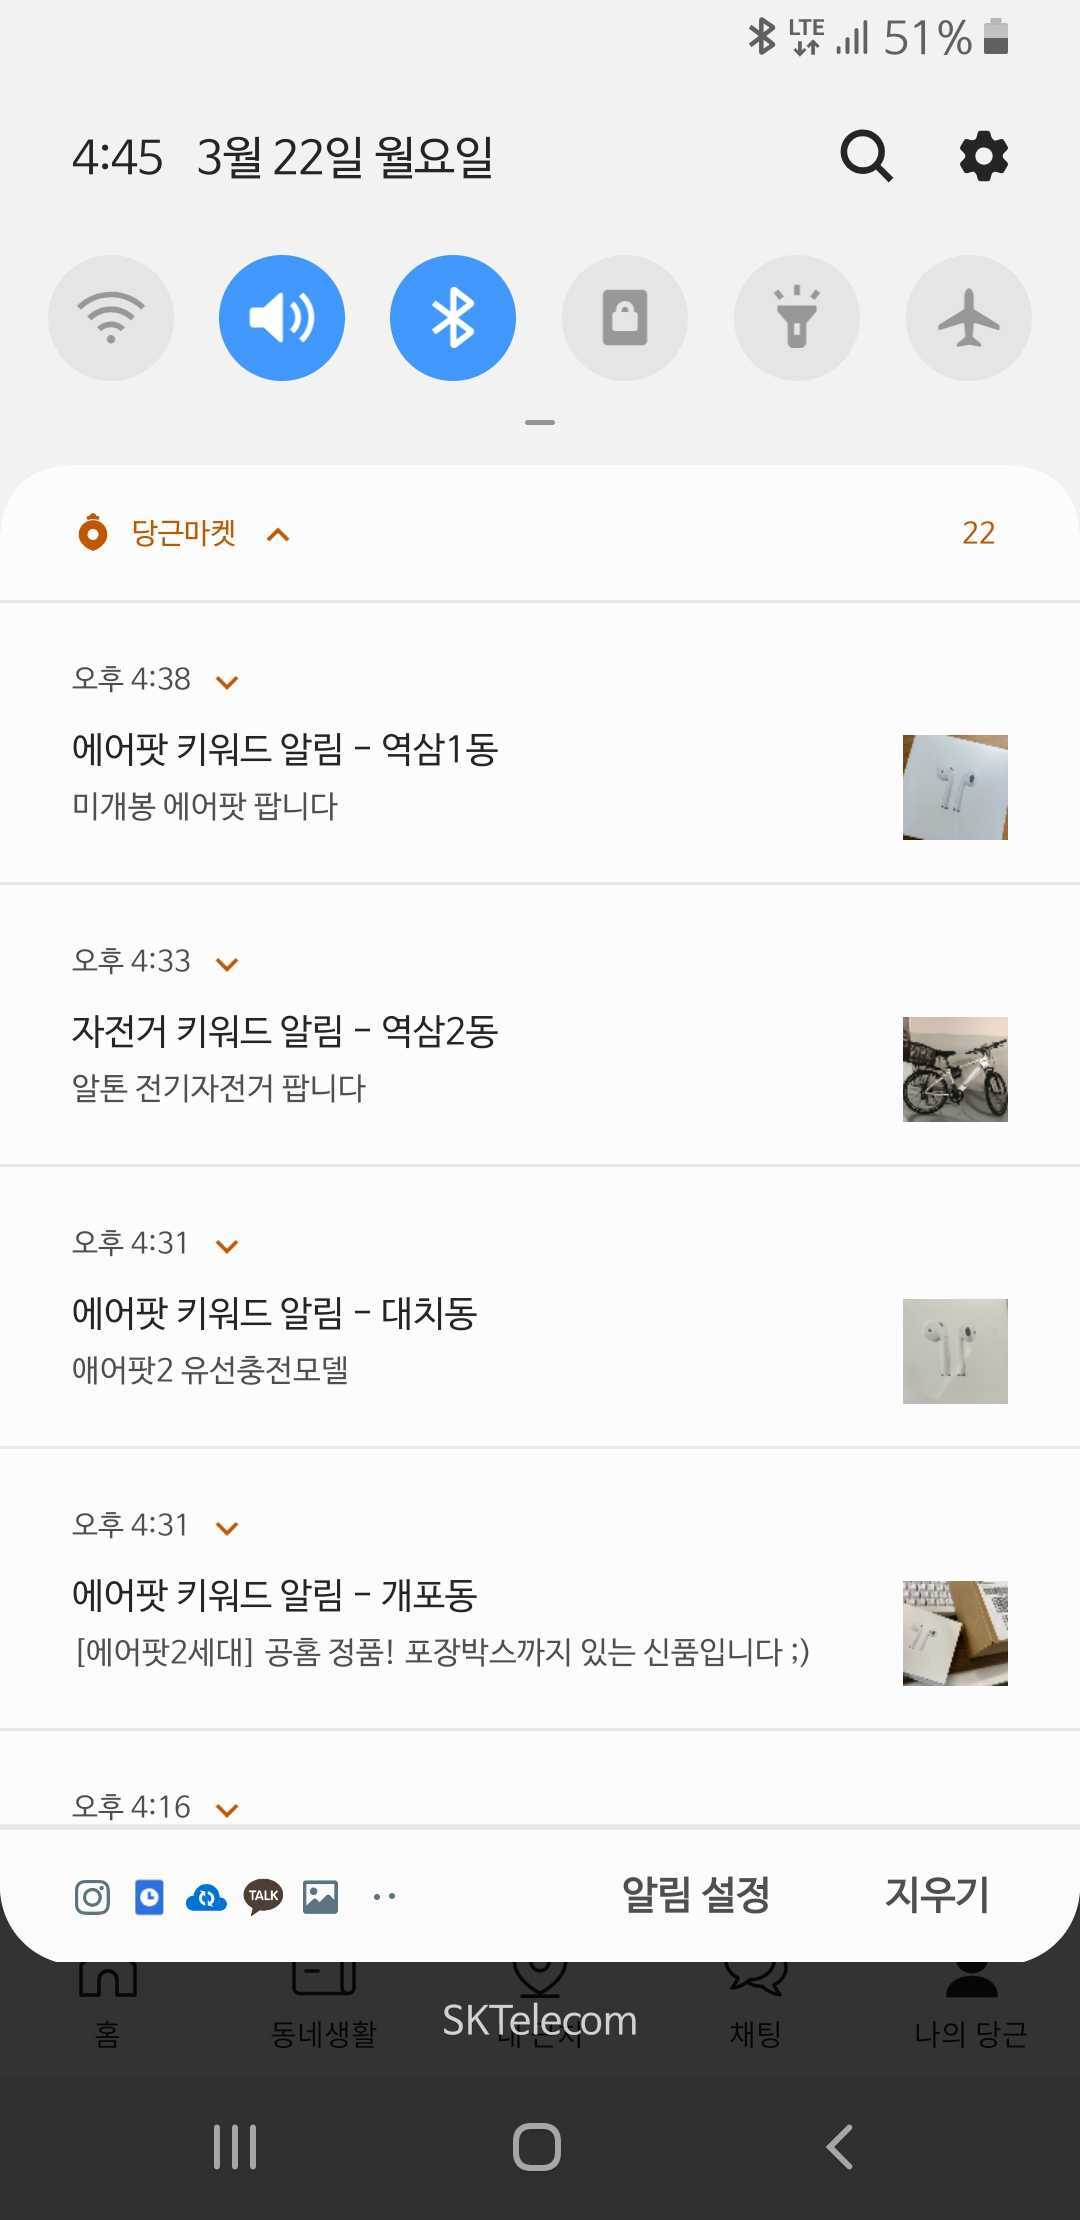
일단 당근마켓 앱부터 켜보자!
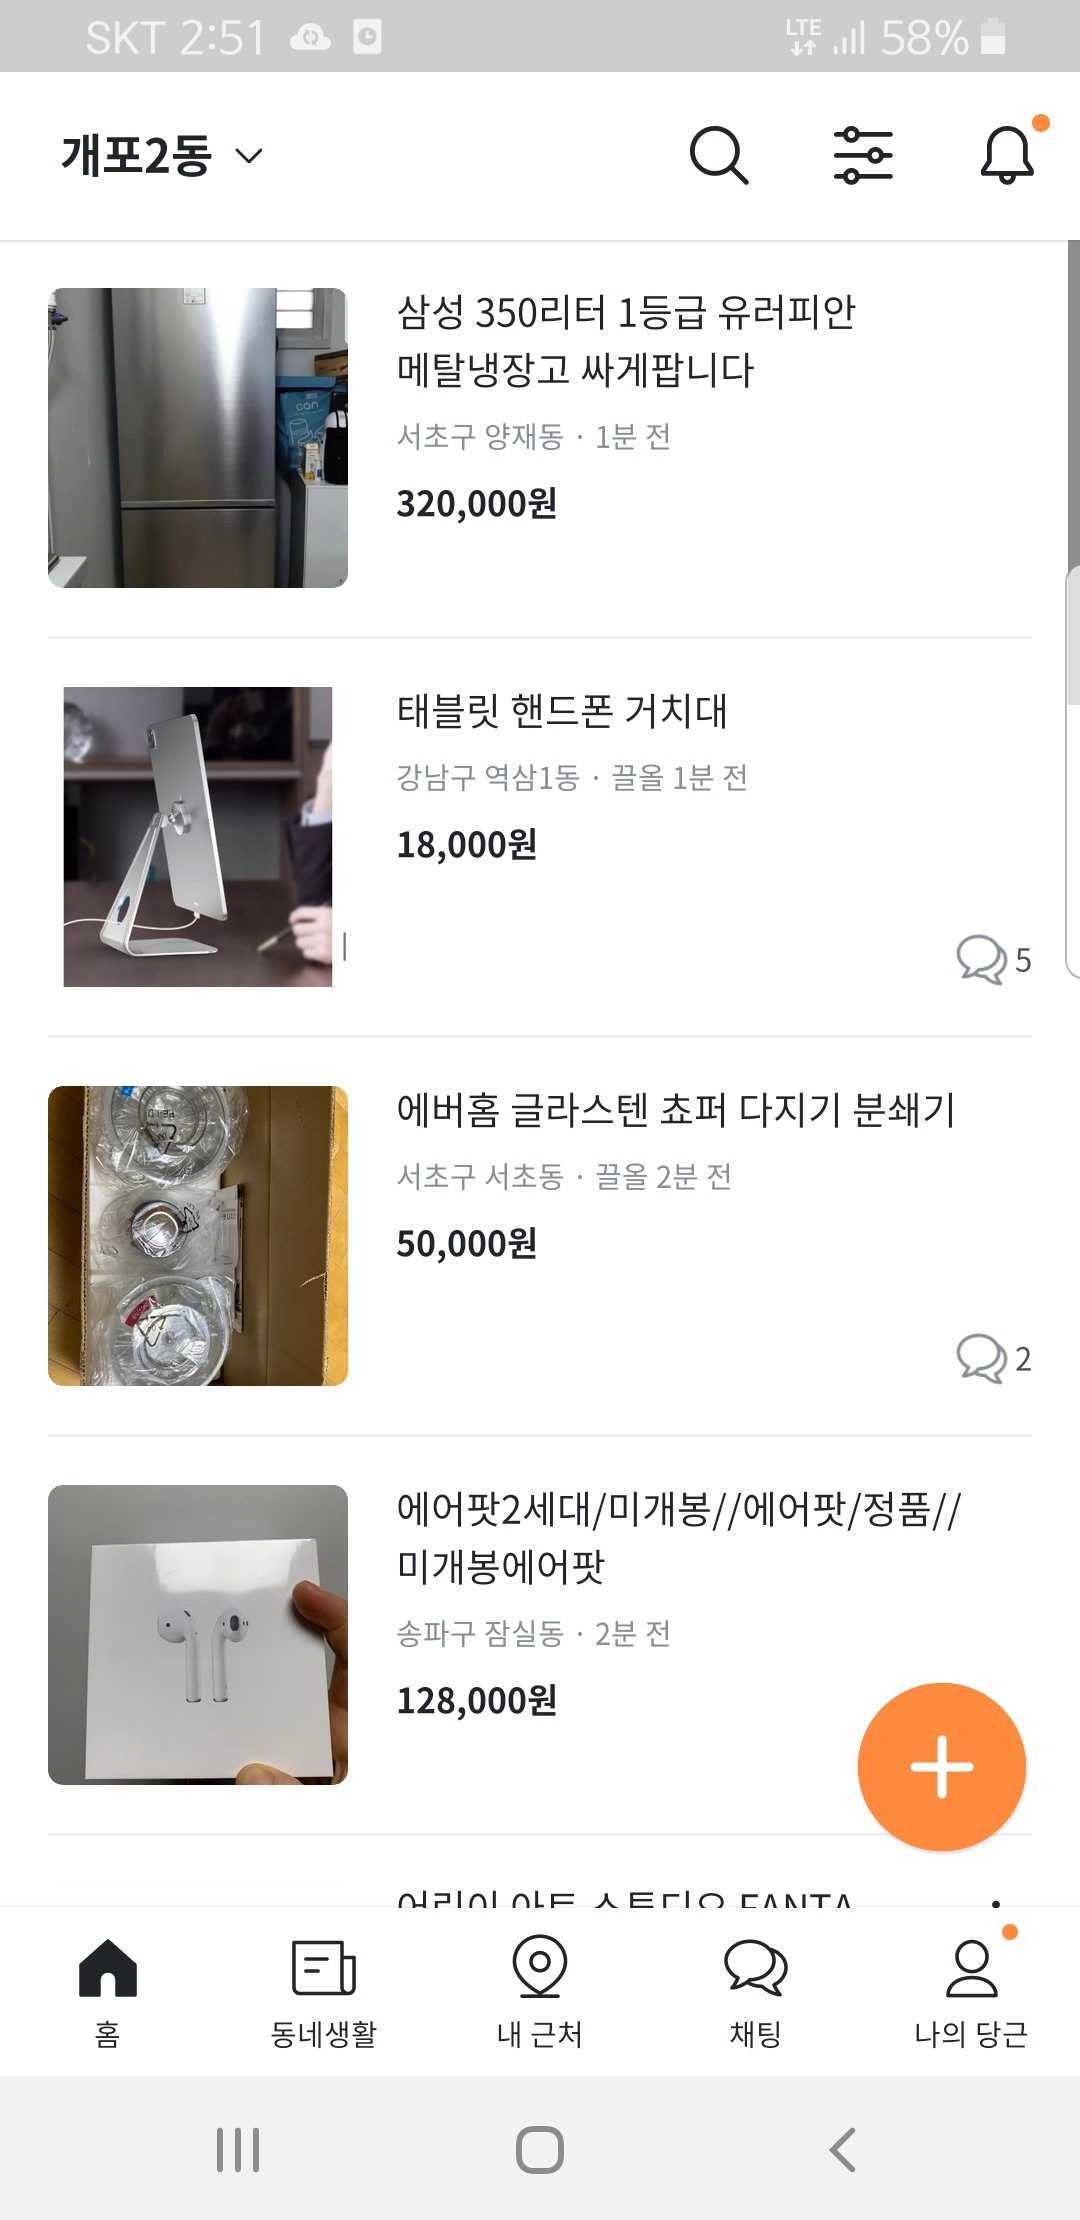
오늘 분석할 대상은 UI/UX 가 아니라 푸시 알림이니까 푸시 알림부터 받아보자.
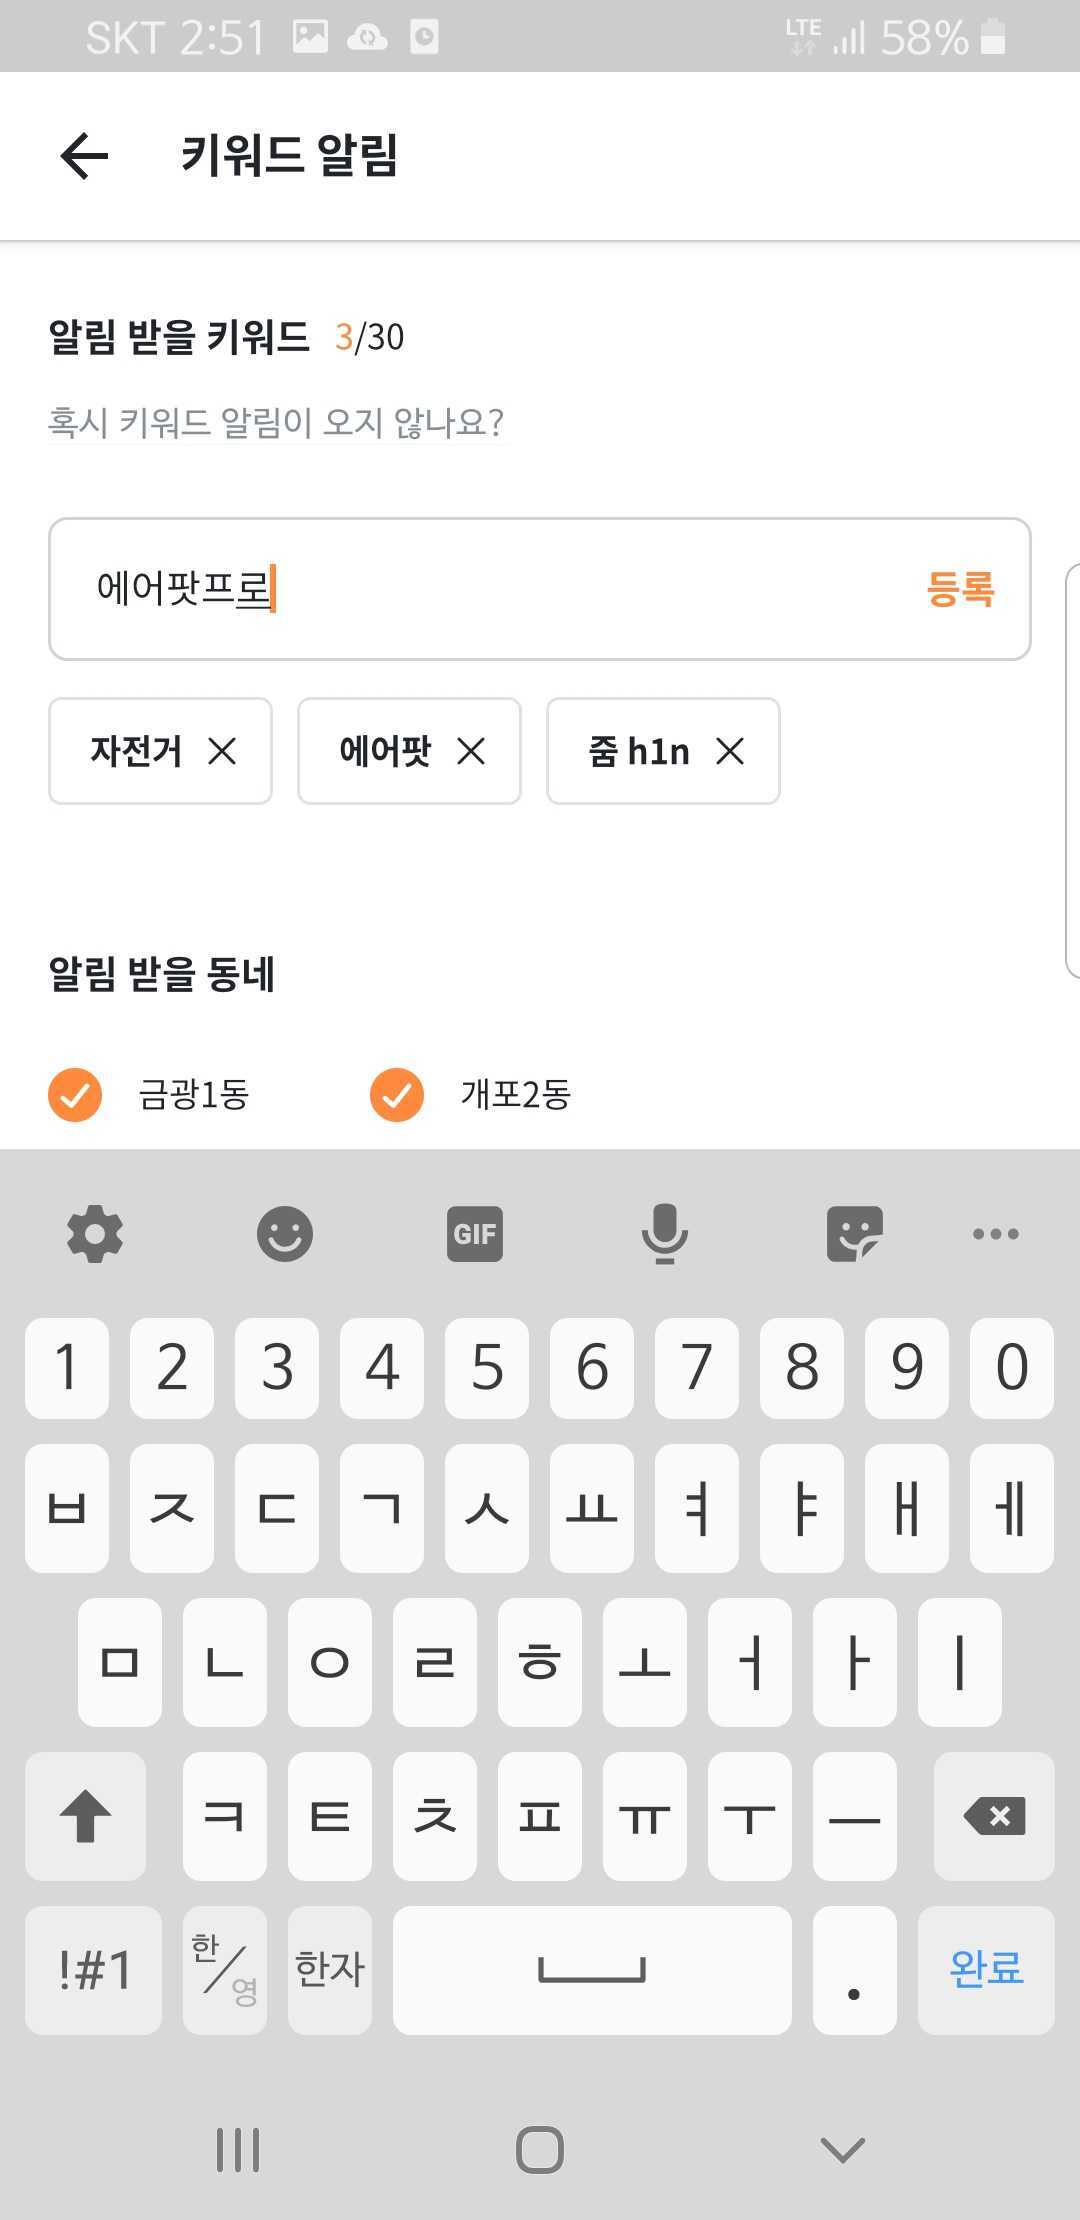
바로 알림을 받고 싶으니 자주 올라올 법한 키워드로 알림 설정을 하고 푸시를 받아보겠다.
나의 당근 에 들어가서
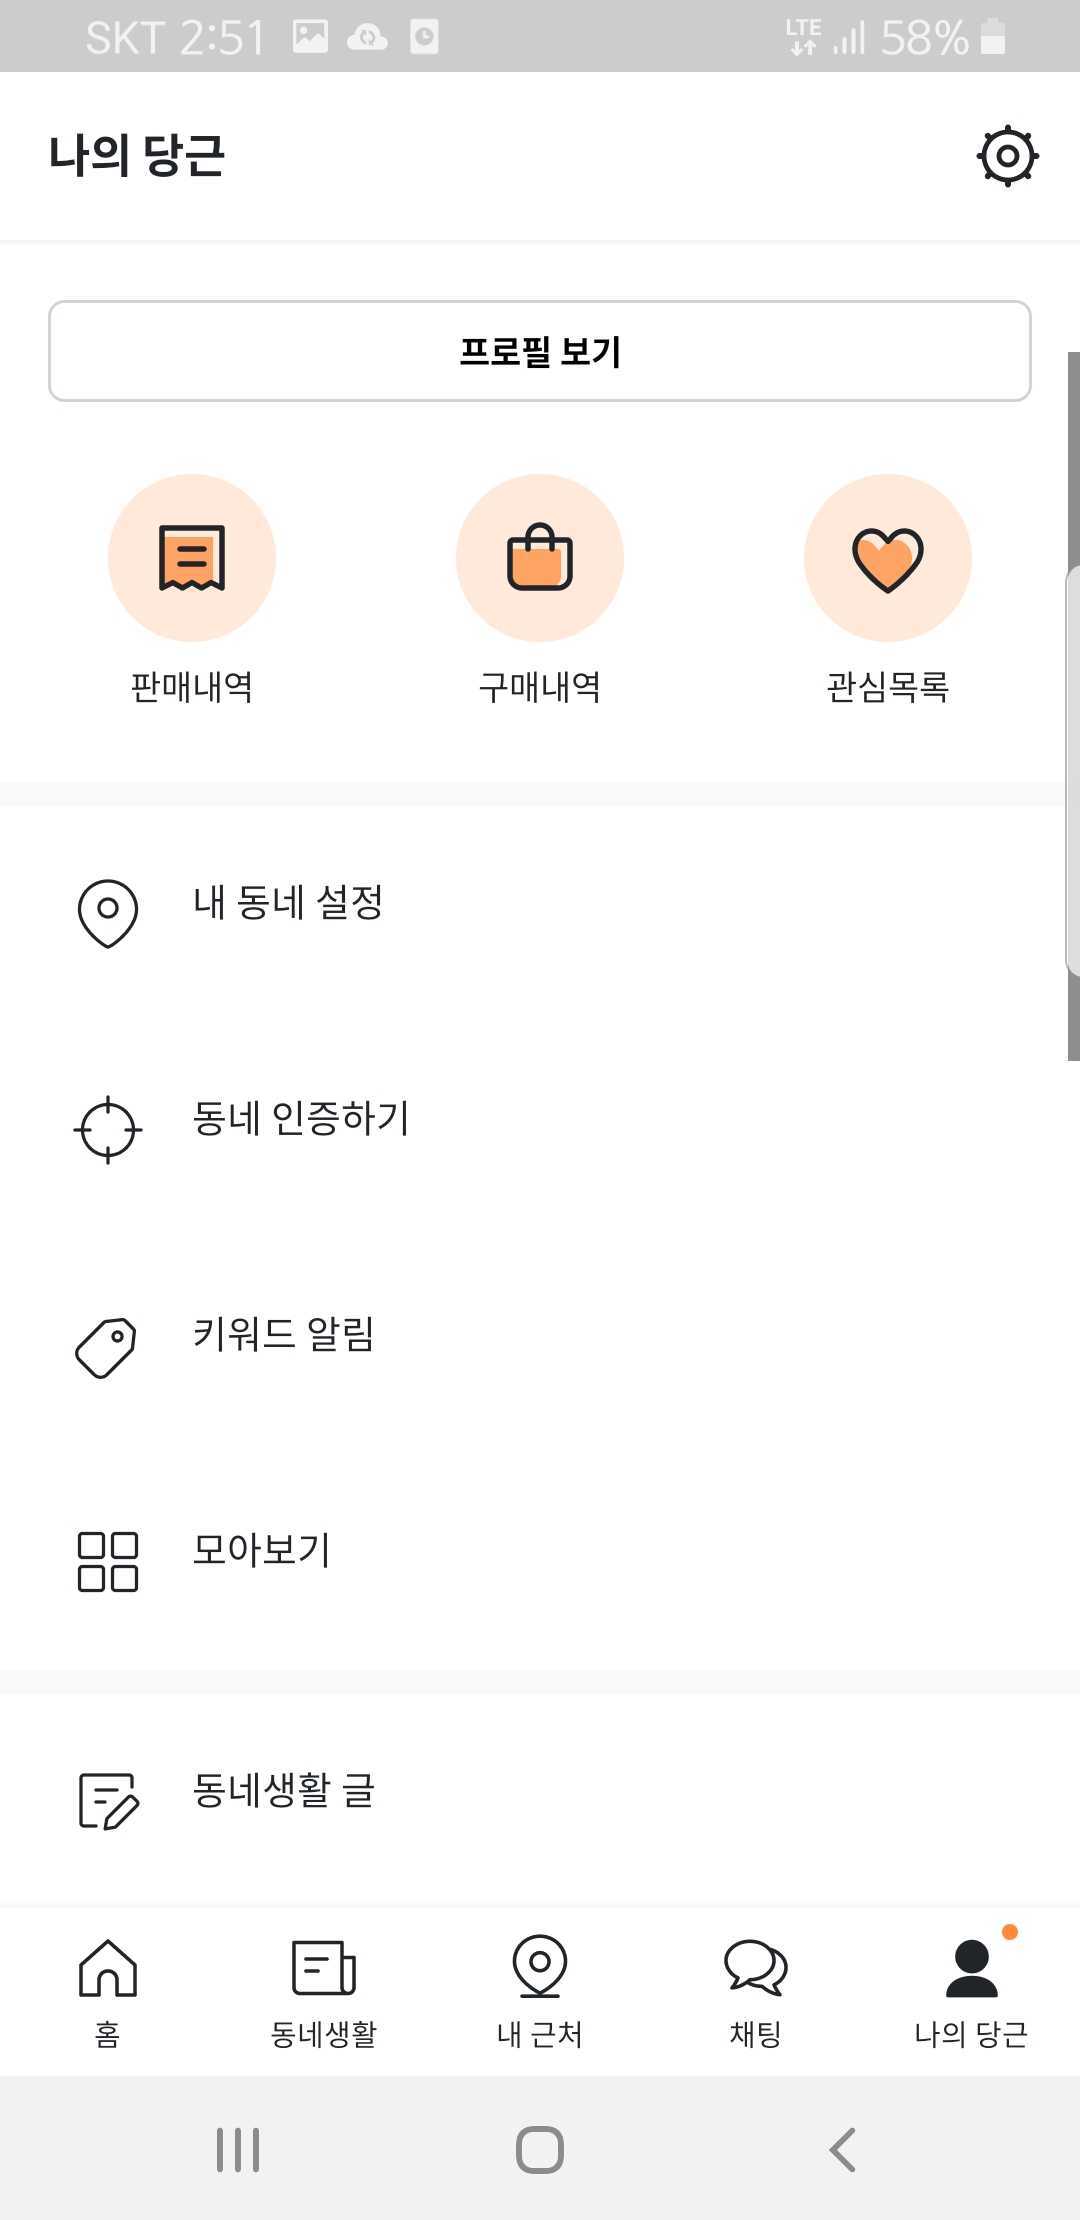
키워드 알림으로 여러 가지를 등록해놓고
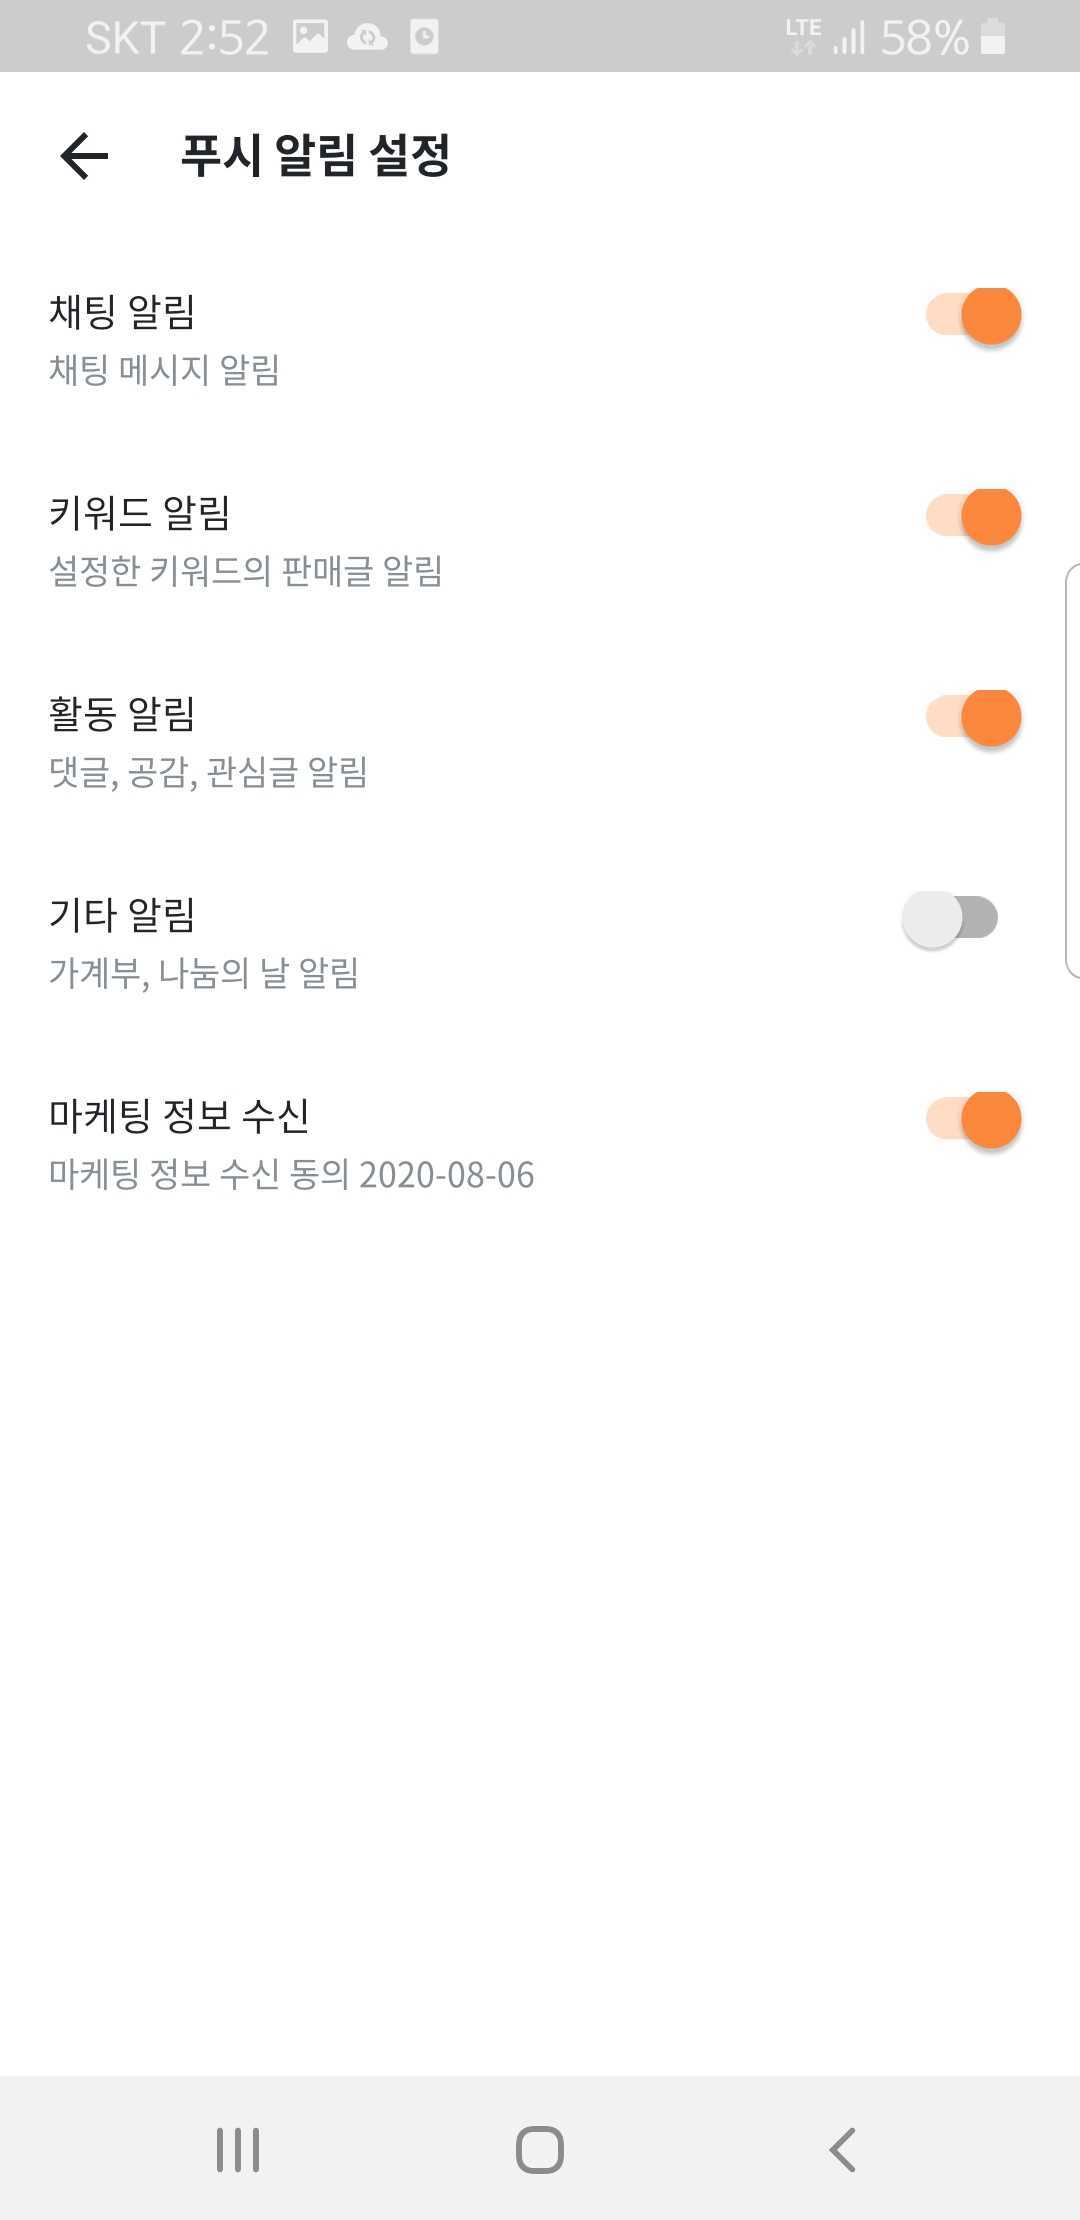
알림설정을 켜보자.
당근~ 당근~ 하고
알림이 하나 둘 오기 시작했다.
알림 하나를 클릭하면 다음과 같은 화면이 뜬다.

자 여기까지가 알림을 설정하고 알림을 받고, 알림을 클릭했을 때의 과정이었다.
이제 이 알림이 어떻게 보내지고 사용자가 받을 수 있는지 세부적인 기술을 파헤쳐보자.
푸시 알림을 받아보자
푸시 알림을 어떻게 보내는지 구현해본 적이 없다.
그래서 이것을 어떻게 할 수 있나 찾아보고 테스트까지 해보았다.
처음에는 키체인 앱에서 인증서도 다운받고 등록까지 하는 과정을 거쳤는데, 성공적으로 구현이 이어지지 않았다.
그렇게 열심히 뒤져보다가 푸시 알람이 로컬 알람 과 서버에서 보내는 알람 두 개로 나누어진다는 것을 깨달았다.
그래서 일단은 ! 쉬운 푸시알람부터 구현을 시작했다.
구현한 것을 정리할까 말까 하다가,
정리한 게 남는 거라고.. 푸시 알림 받는 법을 아래에 정리해볼까 한다.
(아래 블로그를 참고해서)
https://onelife2live.tistory.com/33
로컬 푸시알람
먼저 Local Notificaition 은 세 가지로 나뉜다.
content(내용), trigger(언제 푸시알림을 보낼 건지), request(요청) 이다.
먼저 content 의 경우 title, body, badge number, userInfo, attachments 로 구성된다.
title, body는 띄워줄 알림창에 표시되는 텍스트가 되겠고,
badge number는 앱 위에 빨갛게 표시될 숫자를 말한다.
userInfo는 알림을 사용자가 눌렀을 때, userInfo 라는 Dictionary형 정보에 접근하여 활용할 수 있다.
Trigger의 경우 time, calendar, location으로 구성되는데,
특정 시간이 지난 이후에 작동되길 원한다면 time,
특정한 날짜에 작동하게 하길 원한다면 calendar,
특정 위치에 in/out 하는 경우 작동하길 원한다면 location을 활용하면 된다고 한다.
마지막으로 Request의 경우 content와 trigger를 가지고 로컬 푸시를 등록하는 데에 쓰인다.
특히 request는 identifier를 요구하는데, 이것은 알림을 취소하거나 변경하는 데에 쓰인다.
로컬 푸시 알람을 받기 위해 해야하는 것들
appDelegate에 다음 코드를 추가한다.
func application(_ application: UIApplication, didFinishLaunchingWithOptions launchOptions...) {
  ...
  UNUserNotificationCenter.current().delegate = self
  ...
  return true
}
appDeletagte의 extension으로 UNUserNotificationCenterDelegate를 선언하고, 다음 코드를 작성한다.
extension AppDelegate: UNUserNotificationCenterDelegate {
    func userNotificationCenter(_ center: UNUserNotificationCenter,
                                didReceive response: UNNotificationResponse,
                                withCompletionHandler completionHandler: @escaping () -> Void) {
        completionHandler()
    }

    func userNotificationCenter(_ center: UNUserNotificationCenter,
                                willPresent notification: UNNotification,
                                withCompletionHandler completionHandler: @escaping (UNNotificationPresentationOptions) -> Void) {
        completionHandler([.alert, .badge, .sound])
    }
}
- viewController에 다음 함수를 추가한다.
   class yourViewController: UIViewController {
     let userNotificationCenter = UNUserNotificationCenter.current()

     ...

      func sendNotification(seconds: Double) {
           let notificationContent = UNMutableNotificationContent()

           notificationContent.title = "알림 테스트 타이틀"
           notificationContent.subtitle = "알림 테스트 서브타이틀"
           notificationContent.body = "알림 테스트 바디"

           let trigger = UNTimeIntervalNotificationTrigger(timeInterval: seconds, repeats: false)
           let request = UNNotificationRequest(identifier: "testNotification", content: notificationContent, trigger: trigger)
           userNotificationCenter.add(request) {
               error in
               if let error = error {
                   print("notification Error: \(error)")
               }
           }
       }
   }
위 코드에서 notificationContent는 보여줄 메시지를 정의하고,
trigger는 언제 알림을 보낼지 설정한다. 함수에서는 인자로 받은 숫자를 지정하고 있다.
마지막으로 request에서는 identfier를 정하고, content 및 trigger를 지정한 뒤 UNUserNotificationCenter.current() 를 통해 생성한 userNotificationCenter에 .add(request) 메서드를 사용하여 우리가 만든 request를 요청한다.
이제 어떤 버튼을 누르면 해당 함수가 호출되도록 만들어준다.
@IBAction func touchUpButton(_ sender: Any) {
  self.sendNotification(3) // 3초 후 푸시 알림.
}
결과를 확인해보자

gif 이미지들을 잘 살펴보면 앱을 켜놓을 때나, 다른 화면을 비추고 있을 때, 그리고 잠금화면을 해놓을 때까지
푸시 알림이 제대로 가고 있다는 것을 알 수 있다.
그럼 당근 마켓에서 키워드 알림을 보내는 걸 한번 따라해보자.
예를 들어 키워드로 자전거 같은 걸 등록하고, 주변 사람들 중에 자전거와 관련된 게시물이 올라오면 푸시 알람을 줄 것이다.
밑의 이미지는 내 머릿 속에 있는 것을 한번 구현해본 것이다.

이번에는 코드를 자세히 설명하지 않겠다.
다만 코드를 궁금해 하는 사람이 있을 것도 같아서
rawCode 를 이 글의 맨 아래에 첨부해두겠다.
이것을 구현한 원리는 다음과 같다.
사용자가 키워드 알림으로 설정할 텍스트를 입력받는다
그것을 어디서든 접근할 수 있는 가변배열안에 넣어놓는다.
상품을 등록한다. 등록할 때 텍스트 정보만 Notification Center에 등록한다.
여기서 NotificationCenter란 어떤 변화가 일어났다는 것을 post하면 다른 곳에서 그것을 감지하여 어떤 이벤트를 실행할 수 있는 매우 훌륭한 기능이다.키워드가 들어있는 가변 배열의 요소를 돌면서 어떤 키워드가 Notification Center를 통해 받은 텍스트 속에 있는지를 확인한다.
(swift는 c언어의 strstr처럼 어떤 문자열 안에 특정 문자열이 있는지 검색하는 contains 메소드를 지원한다.)만약 키워드가 발견된다면 해당 키워드를 subtitle로 하고 넘겨받은 문자열을 body로 하는 푸시알림을 생성한다.
당근마켓 분석은 여기까지!
뭔가.. 여기까지 하고 나니 당근마켓 앱을 분석했다기 보다는 푸시알림 보내는 법에 대해 정리한 것 같다...
그래도 이 방법을 다음 앱까지만 고수하고 멘토님께 가져가서
꾸중을 듣고 다른 방법으로 다시 앱을 분석하든 다음 단계로 넘어가든 해야겠다.
쉐이크 기능을 구현해보자
다음 앱은.. 카카오톡!
물론 카카오톡 전체를 다 분석할 수는 없는 129..
목표는 카카오톡을 쉐이크하면 QR 체크인이 뜨는 것을 분석하기!!
카카오톡이 2021년 3월 새롭게 선보인 기능으로 쉐이크 QR 체크인 기능이 있다.
카카오톡을 켜고 기기를 흔들면 QR체크인 화면으로 알아서 넘어가는 기능으로,
카카오톡 설정 - 실험실 에서 설정이 가능하다.
나는 이 쉐이크 기능이 평소에도 너무나 마음에 들어서 어떻게 구현하는지 궁금했다.
그래서 일단 쉐이크를 하면 QR 체크인 하는 화면을 띄워야 하니
해당 화면을 띄우는 방법부터 찾아야 했다.
그렇게 검색에 검색을 더하였으나..
아무래도 카카오톡 QR체크인을 (딥)링크로 여는 방법은 없는 듯 하였다.
예전의 카카오톡이라면 링크로 QR 체크인 페이지로 넘어갈 수 있었지만,
아래 페이지에 들어가면 알 수 있듯이 현재 카카오톡에서는 그것을 막아놓았다.
https://accounts.kakao.com/qr_check_in#page-qr-check-in
그러나 우리에겐 카카오만 있는 게 아니다!
혹시나 네이버 QR 체크인은 링크를 제공할 지 궁금해 검색을 해봤더니!!
웹으로도 QR 체크인을 지원하더라 !!(만세 ~)

어디 그럼 한번 띄워볼까?
먼저 버튼을 클릭하면 QR인증 화면으로 넘어가게 설정해보자.
자세한 코드는 글의 맨 아래에 모두 첨부하겠다.
와우..
버튼을 클릭하면 Naver QR 체크인 URL 로 이동하게 설정해놨더니 아주 잘 동작한다.
이제 해당 로직이 디바이스를 shake하면 동작하도록 해보자.
이를 위해 해주어야 할 일은 간단하다.
아래 코드에 나와있듯이
becomeFirstResponder와 motionEnded 를 오버라이드하고,
motionEnded에 관련 로직을 넣어주면 끝이다.
      override func becomeFirstResponder() -> Bool {
        return true
    }

    override func motionEnded(_ motion: UIEvent.EventSubtype, with event: UIEvent?) {
        if motion == .motionShake {
            if let url = URL(string: "https://nid.naver.com/login/privacyQR") {
                UIApplication.shared.open(url, options: [:])
            }
        }
    }
한번 실행해볼까?
정말 잘 되고 있다.
생각보다 간단해서 개발자에게 편리한 환경을 제공하는 xcode에 다시금 감사하게 됐다.
이로써 마지막 앱 분석까지 완료!
이제 혼나러 가볼까?
여기서부터 아래는 본문에서 rawCode로 공개하겠다고 한 swift 코드입니다.
로컬 푸시알람
//
//  AppPushNotificationViewController.swift
//  place42
//
//  Created by 최강훈 on 2021/03/22.
//  Copyright © 2021 최강훈. All rights reserved.
//

import UIKit

class AppPushNotificationViewController: UIViewController {

    let userNotificationCenter = UNUserNotificationCenter.current()
    var keywords: Array<String> = Array<String>()

    @IBOutlet weak var collectionView: UICollectionView!
    @IBOutlet weak var keywordInputTextField: UITextField!


    @objc func observeEnrollGoods(_ noti: Notification) {
        guard let enrollGoodsText: String = noti.userInfo?["enrollGoods"] as? String
        else {return}
        print(type(of: enrollGoodsText))
        for item in TestSingleton.shared.singletonKeywords {
            if enrollGoodsText.contains(item) {
                self.sendNotification(seconds: 3, subtitle: item, body: enrollGoodsText)
                return
            }
        }
    }

    override func viewDidLoad() {
        super.viewDidLoad()

        self.keywords = TestSingleton.shared.singletonKeywords
        self.collectionView.delegate = self
        self.collectionView.dataSource = self

        NotificationCenter.default.addObserver(self, selector: #selector(self.observeEnrollGoods(_:)), name: DidReceiveEnrollGoodsNotification, object: nil)

        let flowLayout: UICollectionViewFlowLayout
        flowLayout = UICollectionViewFlowLayout()
        flowLayout.sectionInset = UIEdgeInsets.zero
        // section의 inset (섹션의 인셋)을 없애라.
        // 인셋이 뭔지 모르면 검색!
               // 공식문서의 정의:The margins used to lay out content in a section.
        flowLayout.minimumLineSpacing = 10
        // 라인 간의 거리
        flowLayout.minimumInteritemSpacing = 10
        // 아이템 간의 거리

        let halfWidth: CGFloat = UIScreen.main.bounds.width / 4.0

        flowLayout.itemSize = CGSize(width: halfWidth - 30, height: 150)
        // 가로는 30 작게, 높이는 90정도로 하면 좋겠다.
        // 내 예상 이 정도 될 것 같으니 알아서 잘 배치해봐라. 라는 뜻임.
        self.collectionView.collectionViewLayout = flowLayout
    }

    func requestNotificationAuthorization() {

    }


    func sendNotification(seconds: Double, subtitle: String, body: String) {
        let notificationContent = UNMutableNotificationContent()

        notificationContent.title = "당근마켓 키워드 알림"
        notificationContent.subtitle = subtitle
        notificationContent.body = body

        let trigger = UNTimeIntervalNotificationTrigger(timeInterval: seconds, repeats: false)
        let request = UNNotificationRequest(identifier: "testNotification", content: notificationContent, trigger: trigger)
        userNotificationCenter.add(request) {
            error in
            if let error = error {
                print("notification Error: \(error)")
            }
        }
    }

    @IBAction func touchUpButton(_ sender: UIButton) {
        if self.keywordInputTextField.text == "" {
            return
        }
        self.keywords.append(self.keywordInputTextField.text ?? "no data")
        TestSingleton.shared.singletonKeywords = self.keywords
        self.collectionView.reloadData()
    }


}

extension AppPushNotificationViewController: UICollectionViewDelegate, UICollectionViewDataSource {
    func collectionView(_ collectionView: UICollectionView, numberOfItemsInSection section: Int) -> Int {
        if self.keywords.isEmpty == true {
            return 0
        }
        else {
            return self.keywords.count
        }
    }
    func collectionView(_ collectionView: UICollectionView, cellForItemAt indexPath: IndexPath) -> UICollectionViewCell {
        guard let cell: AppPushCollectionViewCell = self.collectionView.dequeueReusableCell(withReuseIdentifier: AppPushCollectionViewCell.identifier, for: indexPath) as? AppPushCollectionViewCell
        else {return UICollectionViewCell()}

        cell.keywordLabel.text = self.keywords[indexPath.row]

        return cell
    }
}
//
// AppPushTestSecondViewController.swift
// place42
//
// Created by 최강훈 on 2021/03/23.
// Copyright © 2021 최강훈. All rights reserved.
//
import UIKit
let DidReceiveEnrollGoodsNotification: Notification.Name
= Notification.Name("DidReceiveEnrollGoods")
class AppPushTestSecondViewController: UIViewController {
@IBOutlet weak var textField: UITextField!
@IBOutlet weak var textView: UITextView!
override func viewDidLoad() {
super.viewDidLoad()
// Do any additional setup after loading the view.
}
@IBAction func touchUpEnrollGoodsButton(_ sender: UIBarButtonItem) {
guard let textFieldText = self.textField.text
else {return}
guard let textViewText = self.textView.text
else {return}
NotificationCenter.default.post(name: DidReceiveEnrollGoodsNotification, object: nil, userInfo: ["enrollGoods":"\(textFieldText) \(textViewText)"])
self.navigationController?.popViewController(animated: true)
}
}
//
//  AppPushCollectionViewCell.swift
//  place42
//
//  Created by 최강훈 on 2021/03/23.
//  Copyright © 2021 최강훈. All rights reserved.
//

import UIKit

class AppPushCollectionViewCell: UICollectionViewCell {
    @IBOutlet weak var keywordLabel: UILabel!
    static let identifier = "AppPushCollectionViewCell"
}
쉐이크 기능
//
//  ShakeTestViewController.swift
//  place42
//
//  Created by 최강훈 on 2021/03/23.
//  Copyright © 2021 최강훈. All rights reserved.
//

import UIKit

class ShakeTestViewController: UIViewController {

    override func viewDidLoad() {
        super.viewDidLoad()

    }

    override func becomeFirstResponder() -> Bool {
        return true
    }

    override func motionEnded(_ motion: UIEvent.EventSubtype, with event: UIEvent?) {
        if motion == .motionShake {
            if let url = URL(string: "https://nid.naver.com/login/privacyQR") {
                UIApplication.shared.open(url, options: [:])
            }
        }
    }

    @IBAction func touchUpQRCheckInButton(_ sender: Any) {
        if let url = URL(string: "https://nid.naver.com/login/privacyQR") {
            UIApplication.shared.open(url, options: [:])
        }
    }


}
'Life's 42' 카테고리의 다른 글
| 이호준 멘토님의 우당탕탕 멘토링 -3.1- (2) | 2021.04.06 |
|---|---|
| 이호준 멘토님의 우당탕탕 멘토링 -3- (0) | 2021.03.25 |
| 이호준 멘토님의 우당탕탕 멘토링 2.1.2 - 쿠팡이츠, 요기요 편 (0) | 2021.03.22 |
| 이호준 멘토님의 우당탕탕 멘토링 2.1.1 - 배달의민족편 (1) | 2021.03.20 |
| 이호준 멘토님의 우당탕탕 멘토링 -2- (2) | 2021.03.17 |


최근댓글